Last week, Paul and I headed up to Leighton Buzzard Wargames club for a try out game of Crusader period armies of 'God Wills It' a competition later in the year. So, if you look very carefully, you will see random 10mms and 15mms proxying in to units in my army as I tried something completely leftfield.
This was actually our second try out, I was struggling to find a list in the Crusader period that I really liked, but after Paul completely tonked my attempt at Later Lithuanians the week before 0-15, I needed something different. I keep trying mounted forces, they really aren't for me. So, a foot army, but which one?
That might get revealed later, or not, depends how well it goes! (Do you know how difficult it is to try and write a match report without revealing details).
Terrain, very dense, but EVERYTHING I put down Paul rolled a 6 for. 5 x 6 in a row, and his terrain choices hit the forest and bounced out! Swear that die is weighted, coz when I roll it it puts out 1s and 2s!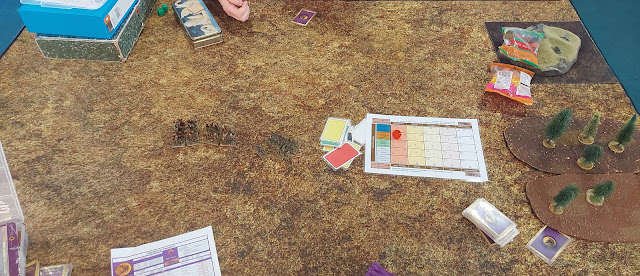
Only outscouted by 50%, not bad against Paul's horse lords. Two artillery batteries (one borrowed from the Tudors, propped up by Samurai generals), two cavalry units and some foot (which are proxying too so no clues there), plus handgunners (borrowed from the Samurai) anchoring on my forest to my right. As Paul also put out artillery, as you might guess we are not using lists from the classic Crusader selection here!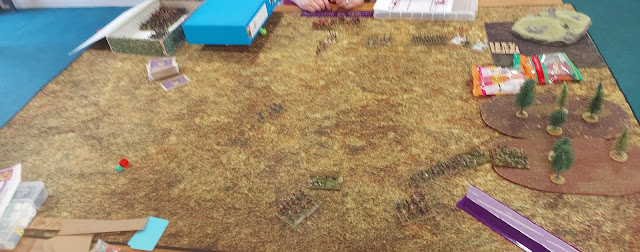
The action hotted up quicky as both of us came up with the same insane plan and sent skirmishers at each other's artillery. So quickly, I forgot to take photos for a while! Paul tried artillery hunting once, but misjudged his angle and got two black dice from shooting, and two yellow for Kill A Base tests for charging artillery. It doesn't go well (double slow from artillery hits, nasty) and the skirmishers stop. Meanwhile my handgunners are busy with Paul's second skirmisher unit. 
Oh no! Not war wagons again! Three sets, yikes! One of my cavalries spends its time pushing one of Paul's flexible cavalry about the table, the rest of my right hand foot, which can shoot, was angling to get as many shots as possible on the wagon train . My other cavalries lurk in the backfield as a reserve.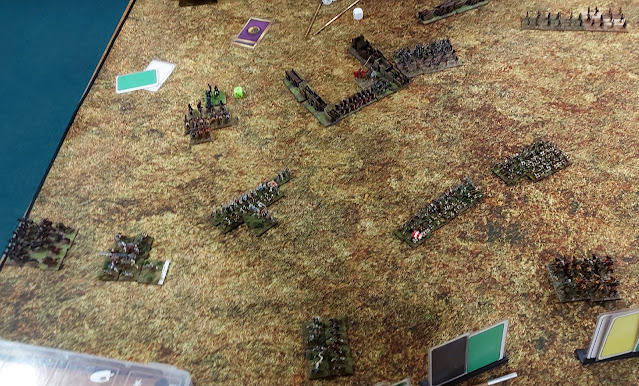
On the right, more of my foot advances on Paul's gun line and attached unit. However, his third set of war wagons (seriously, three!) was positioned to annoy. He also had three guns in his battery (but did buy them as protected, which they can't have, and average, mine were poor, unprotected and combat shy) but for future encounters I think they might get changed. 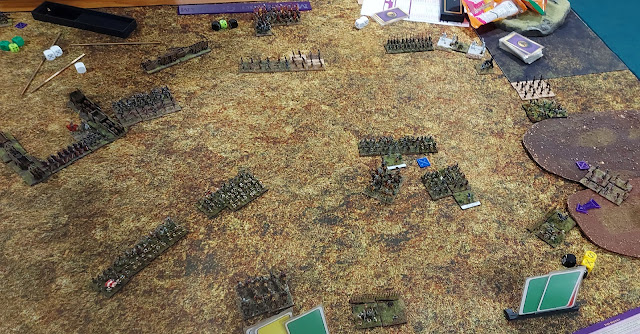
As the action hots up, Paul's reserve superior cavalry hits two of mine, and he severly out classes me by at least two factors on all rolls. But it does stop him contacting the flank of my foot on the right. In the centre, two of my eights of foot contact wagon groups as my superior knights look at the gap between them. My skirmishers on the right push his back up the hill, and eye up the flank of his guns...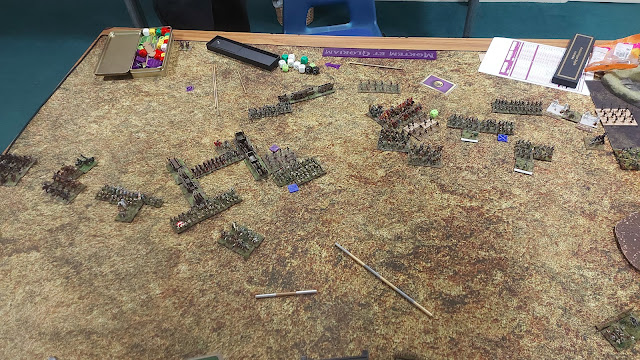
Knights and foot crash into the right hand wagons (not good for knightys, but it allows them to step into Paul's bills in the middle, along with an average bill from my left-hand unit. My CinC (who is not actually Henry VIII, but historically close) with his superiors plus an average unit smash into and kill a wagon, muhahahaha!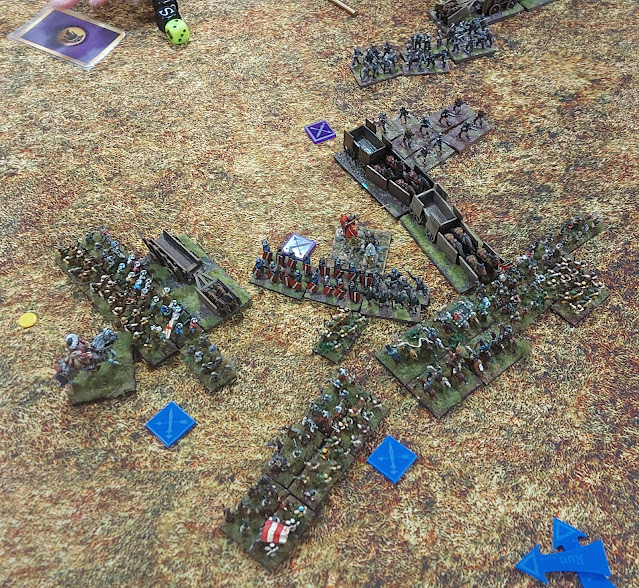
One of my two cavalry units fail to hold up Paul's superior troops (0-2), and head for the (non-existant, did Paul roll ANOTHER 6?) hills. Many shots go into Paul's troops gaurding his guns. My skirmishers hit Paul's and his guns, killing one on the charge. 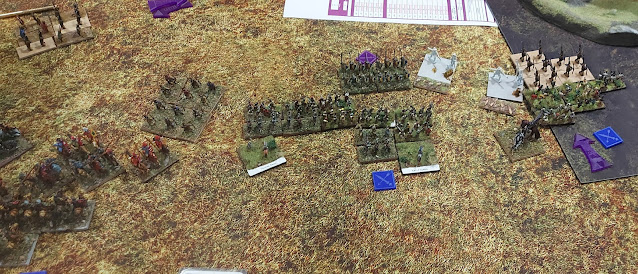
My second cavalry collapses, (0-4) this is going well, again! At least I've brought them down to near their break point.
My superiors finally get that war wagon. Woohoo! (2-4) allowing me to continue onto the Bills that were behind them.
On the far left my knights keep pushing the flexibles around so they can't reform and get round my back in the usual Paul special. He does, however, have a second unit that can cause trouble.
Paul's cavalry pursue. I catch and kill his skirmishers and artillery with my handgunners (2-4), but Paul had caught one of my artillery with his skirmishers (off screen) too (2-5). His foot had been shot to pieces by mine, the right hand one had taken hits from the guns on approach. I only needed one and half more bases... So they would be charged next turn.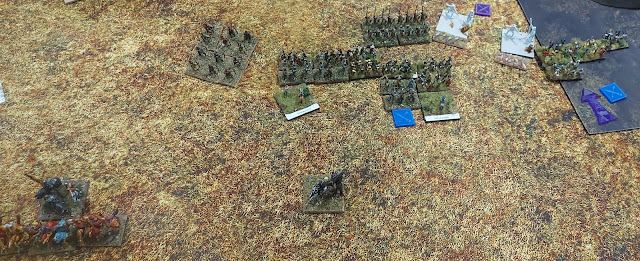
In the centre, I finally, after two games, kill one of Paul's wagon groups! I also smash his billmen (6-4). This army is already more successful that my last effort!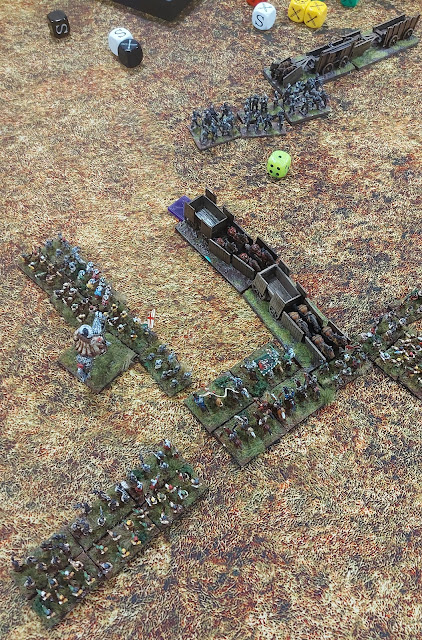
My superior foot charges on into the next Warwagon group, killing one, and it also gets me out of range of Paul's flexible cavalry on the charge (phew).
However, it's Paul's first activation, and he chooses to use his superior cavalry, even after mercilessly beating up eight of my cavalry, and was now down to three out of six bases, and only needed a wound to break. My heavy guns had missed the previous turn (NOOOOOOO!) Then Paul used them to smash into the flank of my foot, disintergrating them (6-6), then instantly carrying on into my superior knights, who they vaporised too! (6-8) All I needed was a wound to stop them, and my foot on the right finally stop them. My superior foot dies against the war wagon! Drat! That ended the game before I could get his unit by his guns (8-15) Enough to break the army, but very close to breaking Paul. Closest this year anyway... 
End of the game, it was all very close. Next time! Superb game, loved it, and my army will be gaining more stands to become a fully fledged army by June, it's going to be fun! 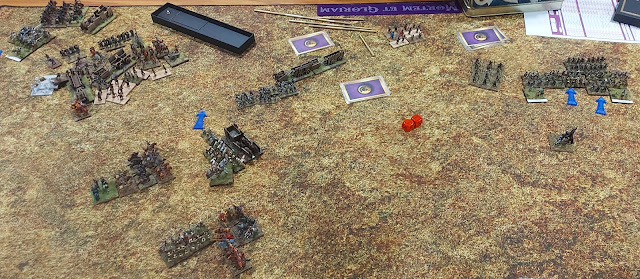
Comments
Post a Comment