
Two games in a week! Shock! Horror! Probe!
Freeman's Farm was one of the pivotal battles in the Saratoga Campaign of the American War of Independence. It features prominently in the 1st Edition Black Powder rules by Warlord Games, and had long been our objective to get played. The original is a 28mm game on a 12' x 6' table, ours is in 10mm, using cm for inches, and on a 6x4 foot table (so a little stretch in depth, but it worked.
With the completion of my AWI forces for Freeman's Farm (self referencing link), and a conversation with a clubmate about a game ('Have you got American Civil War?' 'Erm, yes, in a different scale' repeat ad infinitum..), I decided it was time to introduce Jack to the glories of Black Powder and AWI.
Soon, Nick, Nick, Graham, and Dave had all decided to join in (Mark couldn't make it due to a nasty crash closing the M1), so with five players, I could set up the game, umpire, relax, record and laugh!
All figures are by Pendraken from their magnificent AWI range. Mat from Loke. Rivers, tracks, buildings and trees from Timecast. Terrain bases from Products for Wargames, fences by Blotz, crop fields are a dead doormat!
Everything painted was painted by me...
We used the deployment, order of battle and special rules straight from the rule book (I know, shocking huh!) Pages 110 - 115, if anybody can't remember) and the special rules for generals from the mighty 'Rebellion' supplement.
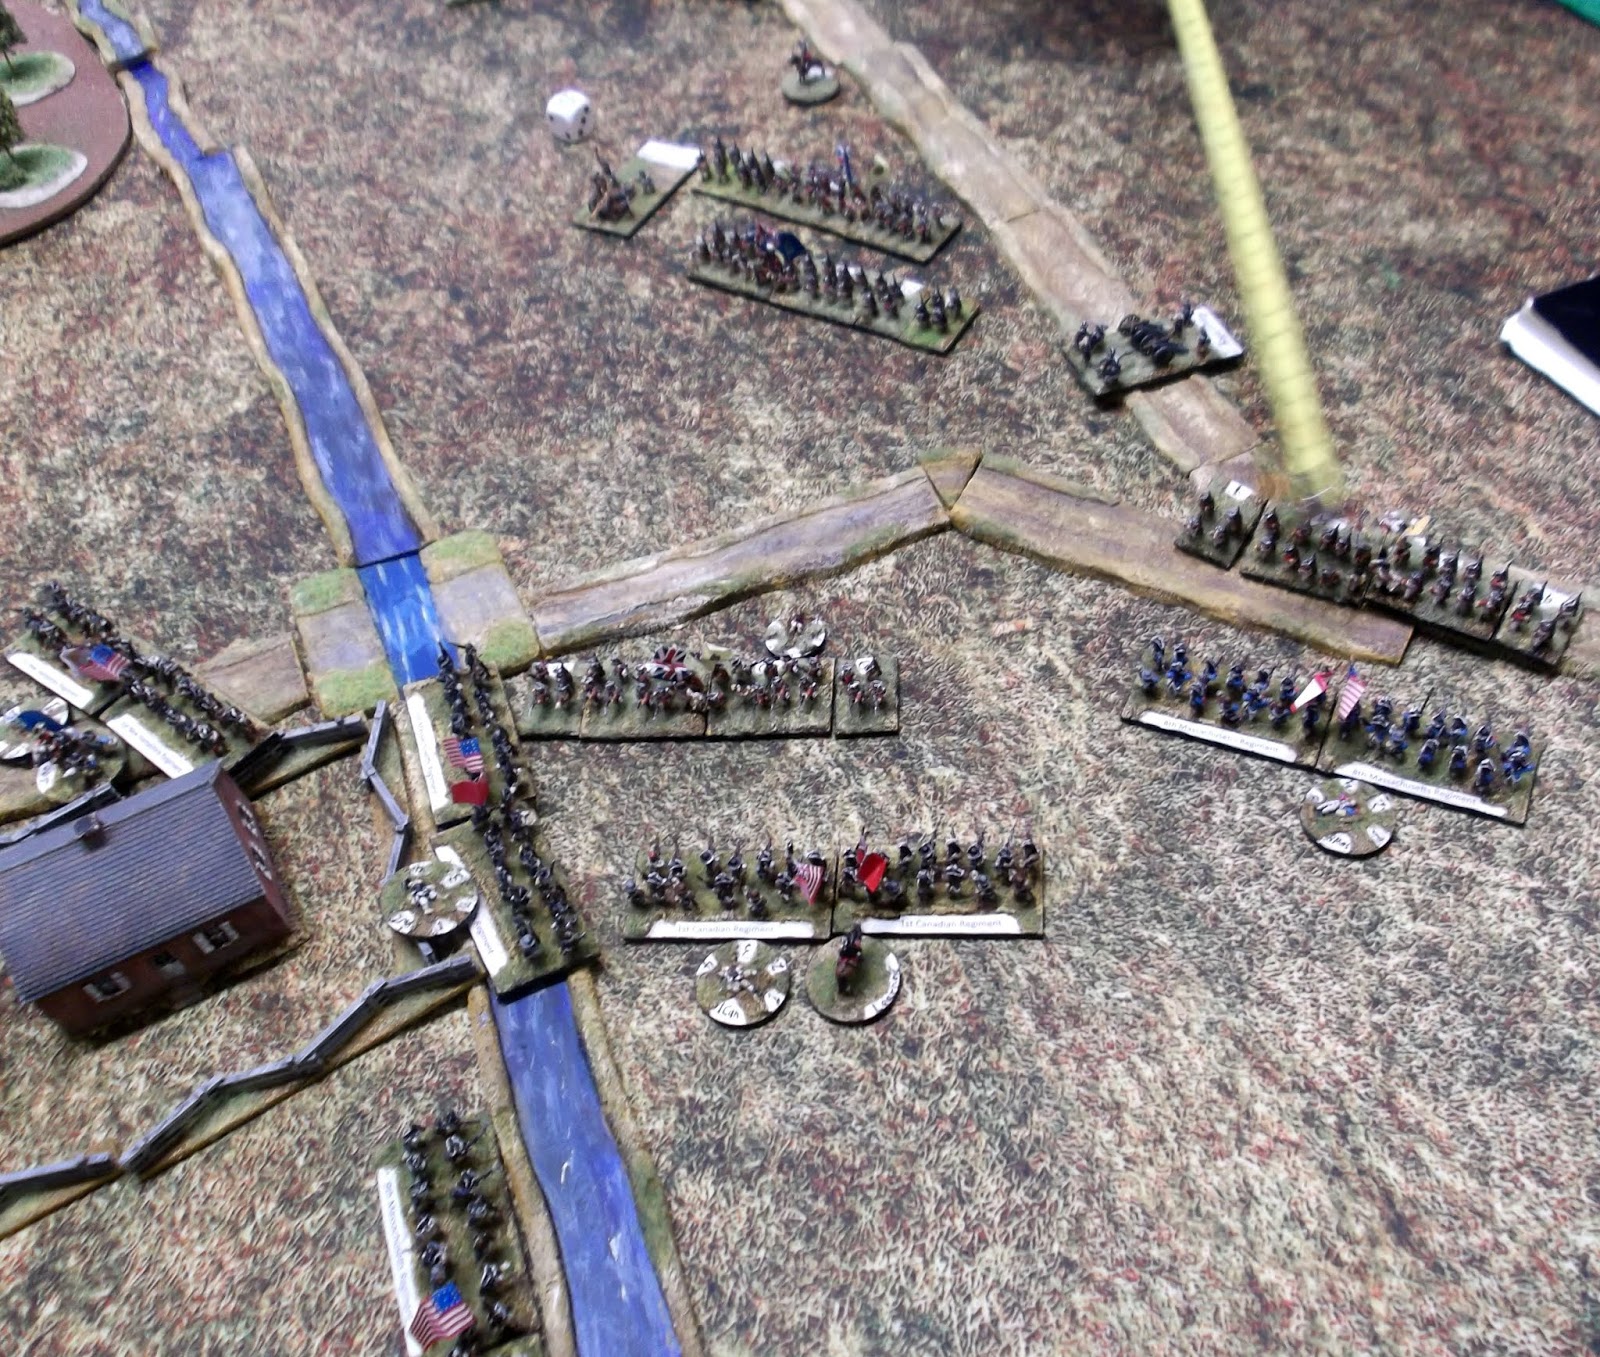
On basing. The British are on 3 x 40mm x 30mm, the Americans on 2x 60mm x 30mm. Oh well, same frontage.
The map from the book (hasty phone grab, please don't sue me Warlord Games).


American forces await deployment. They've not been out the box for a while, so a keen to get going!
The Americans were slightly concerned about how outnumbered they were and lack of artillery! Neither side has cavalry either, always fun.

The British of Hamilton's Brigade deploy in column with pickets thrown across the river. Somewhere Morgan's Brigade lurks in ambush! Beyond Hamilton lies the Brunswick artillery and Jagers, while loyal Canadians, Marksmen and Indians move towards the stream (stream halves movement, but has no effect apart from looking pretty).

Morgan's Brigade, surprisingly, appears in the far right crops, and manages one move into the woods.
Morgan was considered one of the better American generals during the AWI, their performance this night did not reflect history!

Learned brought on his brigade. However, Poor lived up to his name. This was a pretty average roll for the commanders that night! One move, in column, up the road then!

In the far distance, Burgoyne (my step-great-great-great-great-great-great-grandfather) attempts to bring on the rest of the British forces, with Von Bremann's German Brigade stuck behind them. Hamilton advances his columns (Jack's first game, so we allowed Graham and Nick to coach).

And Graham did manage to move the Brunswicker's Jagers, Marauders is a useful rule!


Benedict Arnold himself enters, and starts getting Poor's command to move with purpose. Learned's Brigade reaches the stream, still in column. For the British, Hamilton gets half his troops into line, while Burgoyne tries to get his column across the table. The 1st New York engages the picket line,

And a column gets hit by artillery, ouchies!

And my specially painted hit markers come out (yes, I am that sad). The 1st Candians are a little upset by this.

No Poor, the Connecticut Militia did not like that order. BLUNDER! Oh, they only move one forwards, that's what you wanted them to do.

The Americans form up, bracing themselves between Freeman's farm and the neighbouring wood.

Morgan's Brigade fails to move, again! These guys are meant to be the army vanguard...

But under the fire of three regiments, the British pickets dissolve. Meanwhile, Learned's Brigade starts to cross the stream.

The lines are starting to form, as Burgoyne attempts to move his line troops in columns up, the Canadians, Indians and Marksmen steadfastly refuse to move (top).

The 9th and 20th Line move to engage the Americans who have crossed the stream, and fire is poured on!

However, Hamilton (aka Jack), while trying to move the rest of his brigade up to the stream to support the 9th and 20th, blundered!

'Stream, I thought you said road.' the two units retire, much to Burgoyne's fury.

The Combined Light Infantry and Grenadiers approach, flanked by the Brunswickers.

The 20th receive fire, from flank and front, and become shaken and disordered. The 9th also shake from weight of fire.

As the Light Infantry and Grenadiers form line, ready to support, the skirmishers and Indians make it up to the stream, and stop.

RANDOM POINT! The 9th retire, leaving the 20th unsupported and hanging in the air.

While the rest of Hamilton's Brigade manage to work out an order and advance.

Americans, (Dave, with Learned's Brigade) seeing an opportunity, charge the shaken 20th in the Flank, while the rest of the brigade go after the shaken 9th. As Graham described the scene to JAck "Well, basically, they're f**ked!"

Oh look, Morgan's Brigade fails to move AGAIN!

The American assault roll, needing 3s to hit on 6 dice.

The 20ths reply, needing 4s - the American's taste victory..

The British are rated as 'Steady' a phenomenally powerful rule, which allows a unit to pass their first morale test at the best possible result, automatically. We tend not to use rules like these within the club, more often giving units detrimental abilities (it's way more fun). This time, it resulted in a drawn combat, and both units still locked into the fighting.
Graham moving the Brunswickers up to the other ford, as Nick's skirmishers still will not get their feet wet!

Back at the farm, the 1st New Hampshire, guarding the ford, are suffering sustained artillery hits from two batteries.

Meanwhile, the Americans and the 20th both retire bloodied from the melee, the Americans have learned to cause morale checks by shooting, before assaulting Elite British lines (as happened historically). This meant that after suffering many shooting hits, Learned's Brigade was now broken, and had to pull back from 12cm of British forces, but could still shoot. They would pay no further part in the battle (but had still been more useful than Morgan's Brigade.

A column of Brunswickers approaches the other ford, as the skirmishers break out fishing rods and campfires, they will not move!

This is how an efficient and organised unit moves...
Triple move, in column, up a road, woosh!

In reaction to this, Arnold advanced both Connecticut Militia units to meet them, and they pour on fire.

The British line forms up and advances, the Americans brace (and the New Hampshire, fall back into the line, and are probably changing their underwear).

Brunswick Jagers show the other light infantry what it means to move!

British Light Infantry, Grenadiers and the 24th cross the stream en masse. The Americans are seriously worried.

As dusk slowly descends, the general situation. The British have crossed the stream in two places, the American are now having to hold on.

The militia moves forwards, and continues to plug away at the Brunswick light Infantry, who had to use their 'Steady ' ability to keep themselves in the fight, but now could call on fire from their Jagers..

As the English line advance, the Combined Grenadiers suffers intense fire (at least 3 disordering hits, yowch!) The elite unit of the British forces would pay no further part in this fight, having used their 'Steady' ability.

The Combined Light Foot and the 24th crash into the American line, the 1st New Hampshire, already shaken, lose their fight.

That then ended the fight. The Americans had one brigade out of action, and Morgan had been hopeless! Poor's division was suffering, but a while off breaking.
On teh BRitsih side, the 20th and 9th were slowly rallying in the rear, and apart from the broken Pickets, only the real losses were a shaken Brunswick Light Infantry and a busted up unit of British Grenadiers.

The Americans retired, the British, having suffered a bloody nose, could only hold their ground, rather than pursuing on. A result that matched the historical outcome. Only one unit routed in the game, but a great deal were spent.
An absolutely cracking game. If we were to refight this game, I would look at improving some of the American abilities (they only have 'First Fire', mostly used against the pickets) as per the 'Rebellion' supplement. The British are morale 4 (a huge difference to the usual 3, reflecting the professionalism) which is fine, but I would look at replacing 'Steady' with another ability such as 'Valiant' which allows a reroll of a break test, and give the American's slightly more chance of shifting a unit or three!
Superb report - well covered, enjoyed, thanks.
ReplyDeleteA great looking game with impressive battlelines!
ReplyDelete